Modify
The following steps will guide you through a modification of the Kitty Items project. You will add a new NFT kind, representing an exclusive collection of rare NFTs of sunglasses:

Video Walkthrough
Start in emulator
In the last step, you started the project on the testnet. For local development, however, it is recommended to emulate the blockchain network locally using the Flow Emulator. Once changes are implemented and tested locally, you will deploy the updates to the testnet.
Let's start the project in the emulator by running the command below in the root project folder.
Important: You will notice that the previous script execution finished once all services successfully started. You do not need to stop the previous process. By running the next command, existing services will be configured to communicate with the emulator instead of the testnet.
You should see similar logs as in the last step:
Once again, you will be asked if you want to show all logs. You can enter n for now.
You may notice that you were not prompted for an account. This is because the local setup includes a developer wallet that simulates user accounts.
Add new NFT collection
To add the new NFT collection, we will have to make changes to several components of the project:
- Backend API: Add the new collection to the list of available collections
- Web application: Define the new collection name and add it to the map of available collections
- Cadence: Define the new collection name, add it to the map of available collections, set the content hash for the images (stored on IPFS)
To start making your changes, it is recommended to open the project in a code editor like Visual Studio Code.
Recommended: Install the VSCode extension for Cadence to get syntax highlighting, type checking, and code completion support. If you have VSCode in your
$PATH, you can use the CLI to install the extension:flow cadence install-vscode-extension.
Update the backend API
Open the file /api/src/services/kitty-items.ts and add new element (Shades) at the bottom of the Kind enum:
Update the web application
Open the file /web/src/global/constants.js and add a new item (Shades) to the ITEM_KIND_MAP constant:
Note: To simplify this tutorial, we already added the images for the NFT collection to the project folder. If you were to add new NFTs on your own, you would also need to add images to the
web/public/images/kitty-itemsfolder.
Update the Cadence smart contract
Open the /cadence/contracts/KittyItems.cdc file and make the following changes.
Add a new kind
Locate the enum Kind object and add a new case (shades) to the bottom of the list:
Update the kindToString method
This method is used to set the name and description of a specified NFT. Locate the the kindToString method and add a new case (Kind.shades) to the bottom of the switch statement:
Create a transaction to update the list of images for your new kind
Next, you need to create a transaction to update the contract with new links to the images for the new NFT kind.
Note: You can't modify the list of images in the
init()function directly because this function only runs the first time your contract is deployed - not on subsequent updates. You can read more about here.
In the root directory of the project, run the following commands to create a new file for the transaction:
Navigate to the new file, open it, and paste the following code:
This transaction borrows the minter Resource from the signing account and calls the addNewImagesForKind method on the minter Resource. It passes a struct containing the links to the new images for the shades kind.
Note: If the signing account does not have the minter Resource, this transaction will fail. This is good, because we only want the account that mints NFTs to be able to modify the contract. Also keep in mind, that if you were to add your own NFT, you would have to upload images to IPFS and store the new hashes instead.
Make sure you saved the file before proceeding to the next step.
Update contract on the emulator
Because you changed the smart contract for Kitty Items, you have to redeploy it to the emulator. Run the following command in your terminal, inside the root folder.
Note: You will notice that the previous script execution finished once all services successfully started. You do not need to stop the previous process. You can run the next command in the same terminal without impact on the services running in the background.
The script will update all contracts included in the project. The last one is the one you changed.
Run the new transaction to update the KittyItems contract
Run the following command to send the transaction to update the contract with the new shades images.
You should see the following response. Take note of the Status - it should be ✅ SEALED.
As indicated, the transaction was sealed and you are ready to mint your new KittyItems NFT.
Congratulations! You have completed all changes and your project now includes a new NFT collection for sunglasses.
Mint new sunglasses NFT
To mint one of the new NFTs in your local environment, you have to repeat the minting steps from the last page.
First, open the Kitty Items admin dashboard. Keep in mind that the password is KittyItems.
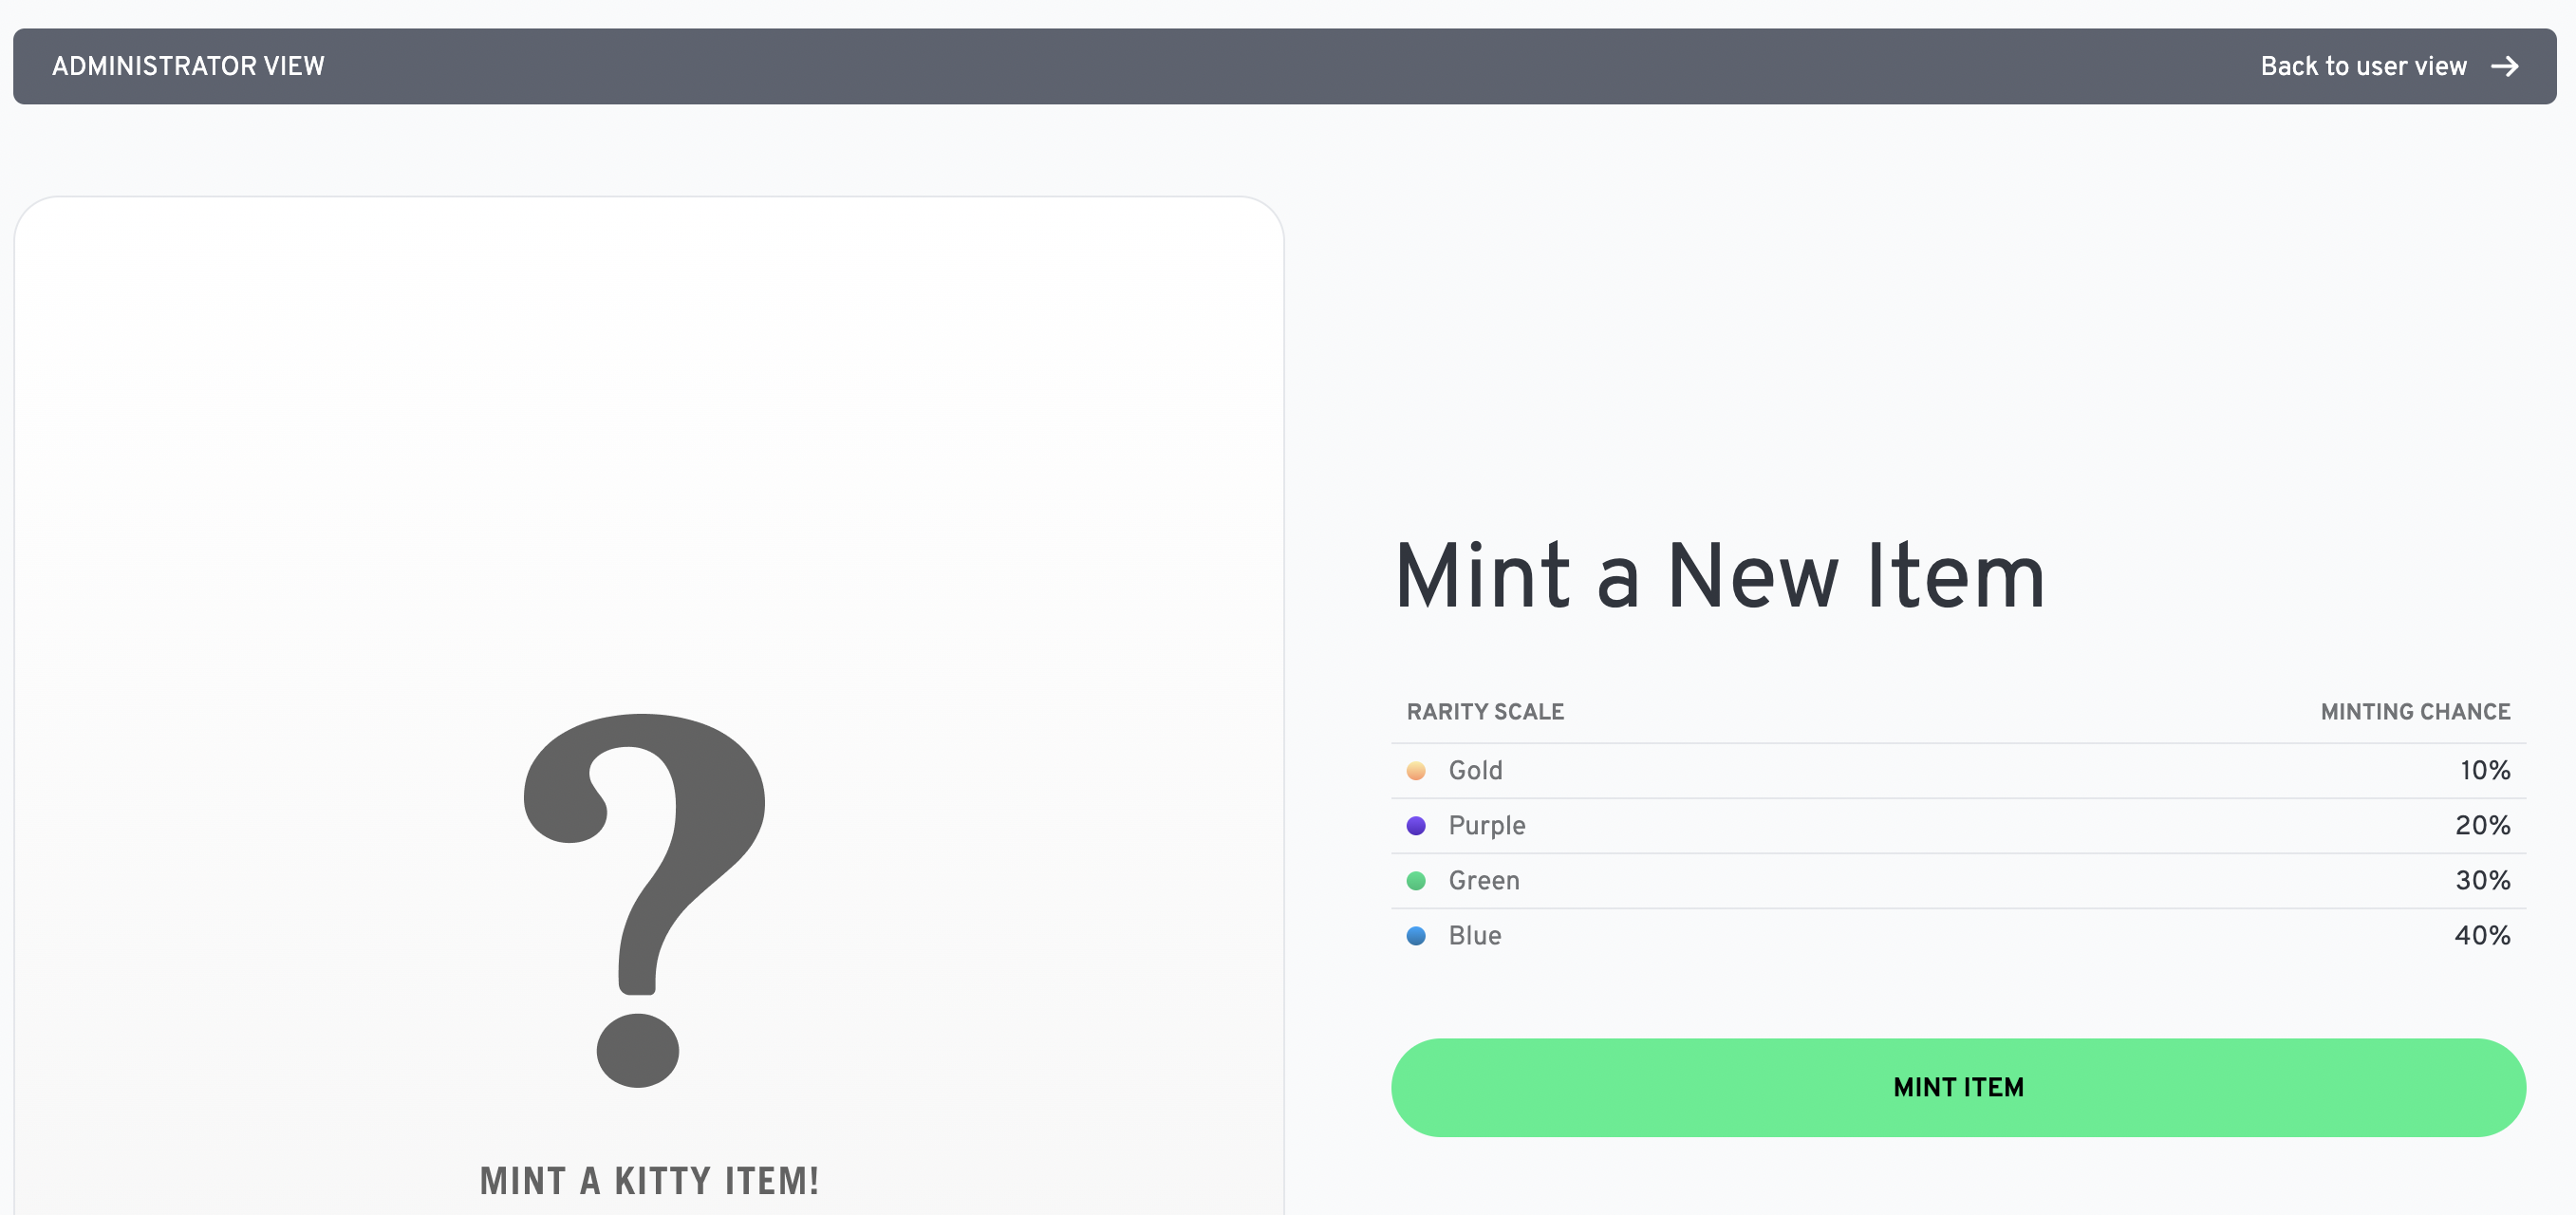
Now, hit the "Mint Item" button and see a new NFT being generated. The generation of new NFTs is randomized, so you will have to mint a few new NFTs until you will see an NFT from your new sunglasses collection.
During the minting process, you should see the sunglasses flash in the preview pane on the left side of the screen.
Note: It is best to hit the back button in your browser to get back to the "Mint a New Item" screen. You can jump to this screen by opening the admin dashboard directly.